• Home
  • About Us
  • Archives
  • Contact Us
  • Advertise
  • Privacy Policy

Kids Ain't Cheap

But They Sure Are Worth It

  • Home
  • Toolkit
  • Parenting
    • Baby Stuff
    • Books and Reading
      • Aesops Fables
      • Comic Books
    • Education
    • Family Time
    • Green Living
    • Growing Up
    • Healthy Living & Eating
    • Holidays
    • Parenting
    • Random Musings
    • Shopping
    • Stuff to Do
  • Money
  • Product Reviews
    • Books and Magazines
    • Discount Sites
    • Furniture
    • House Keeping
    • Reviews News
    • Toys and Games

How to Bake Shrinky Dinks: The Fun DIY Craft You Need to Try!

August 2, 2024 | Leave a Comment

Cartoon kid’s stickers or patches set with pineapple, sunglasses, banana, and other cute design elements in 80s and 90s style. Isolated on a white background. Vector

Shrinky Dinks are a nostalgic and fun DIY craft that has been delighting children and adults for decades. These versatile creations start as thin plastic sheets that you can color, cut, and then bake to shrink into durable, miniature versions of your designs. Here’s a step-by-step guide on how to bake shrinky dinks at home.

Gather Your Materials

To get started with Shrinky Dinks, you’ll need a few basic materials. You will need to shrink plastic sheets, which are available at most craft stores or online. Additionally, gather permanent markers or colored pencils for decorating, scissors for cutting out your designs, parchment paper, and a baking sheet. An oven is essential for the baking process.

Design and Decorate

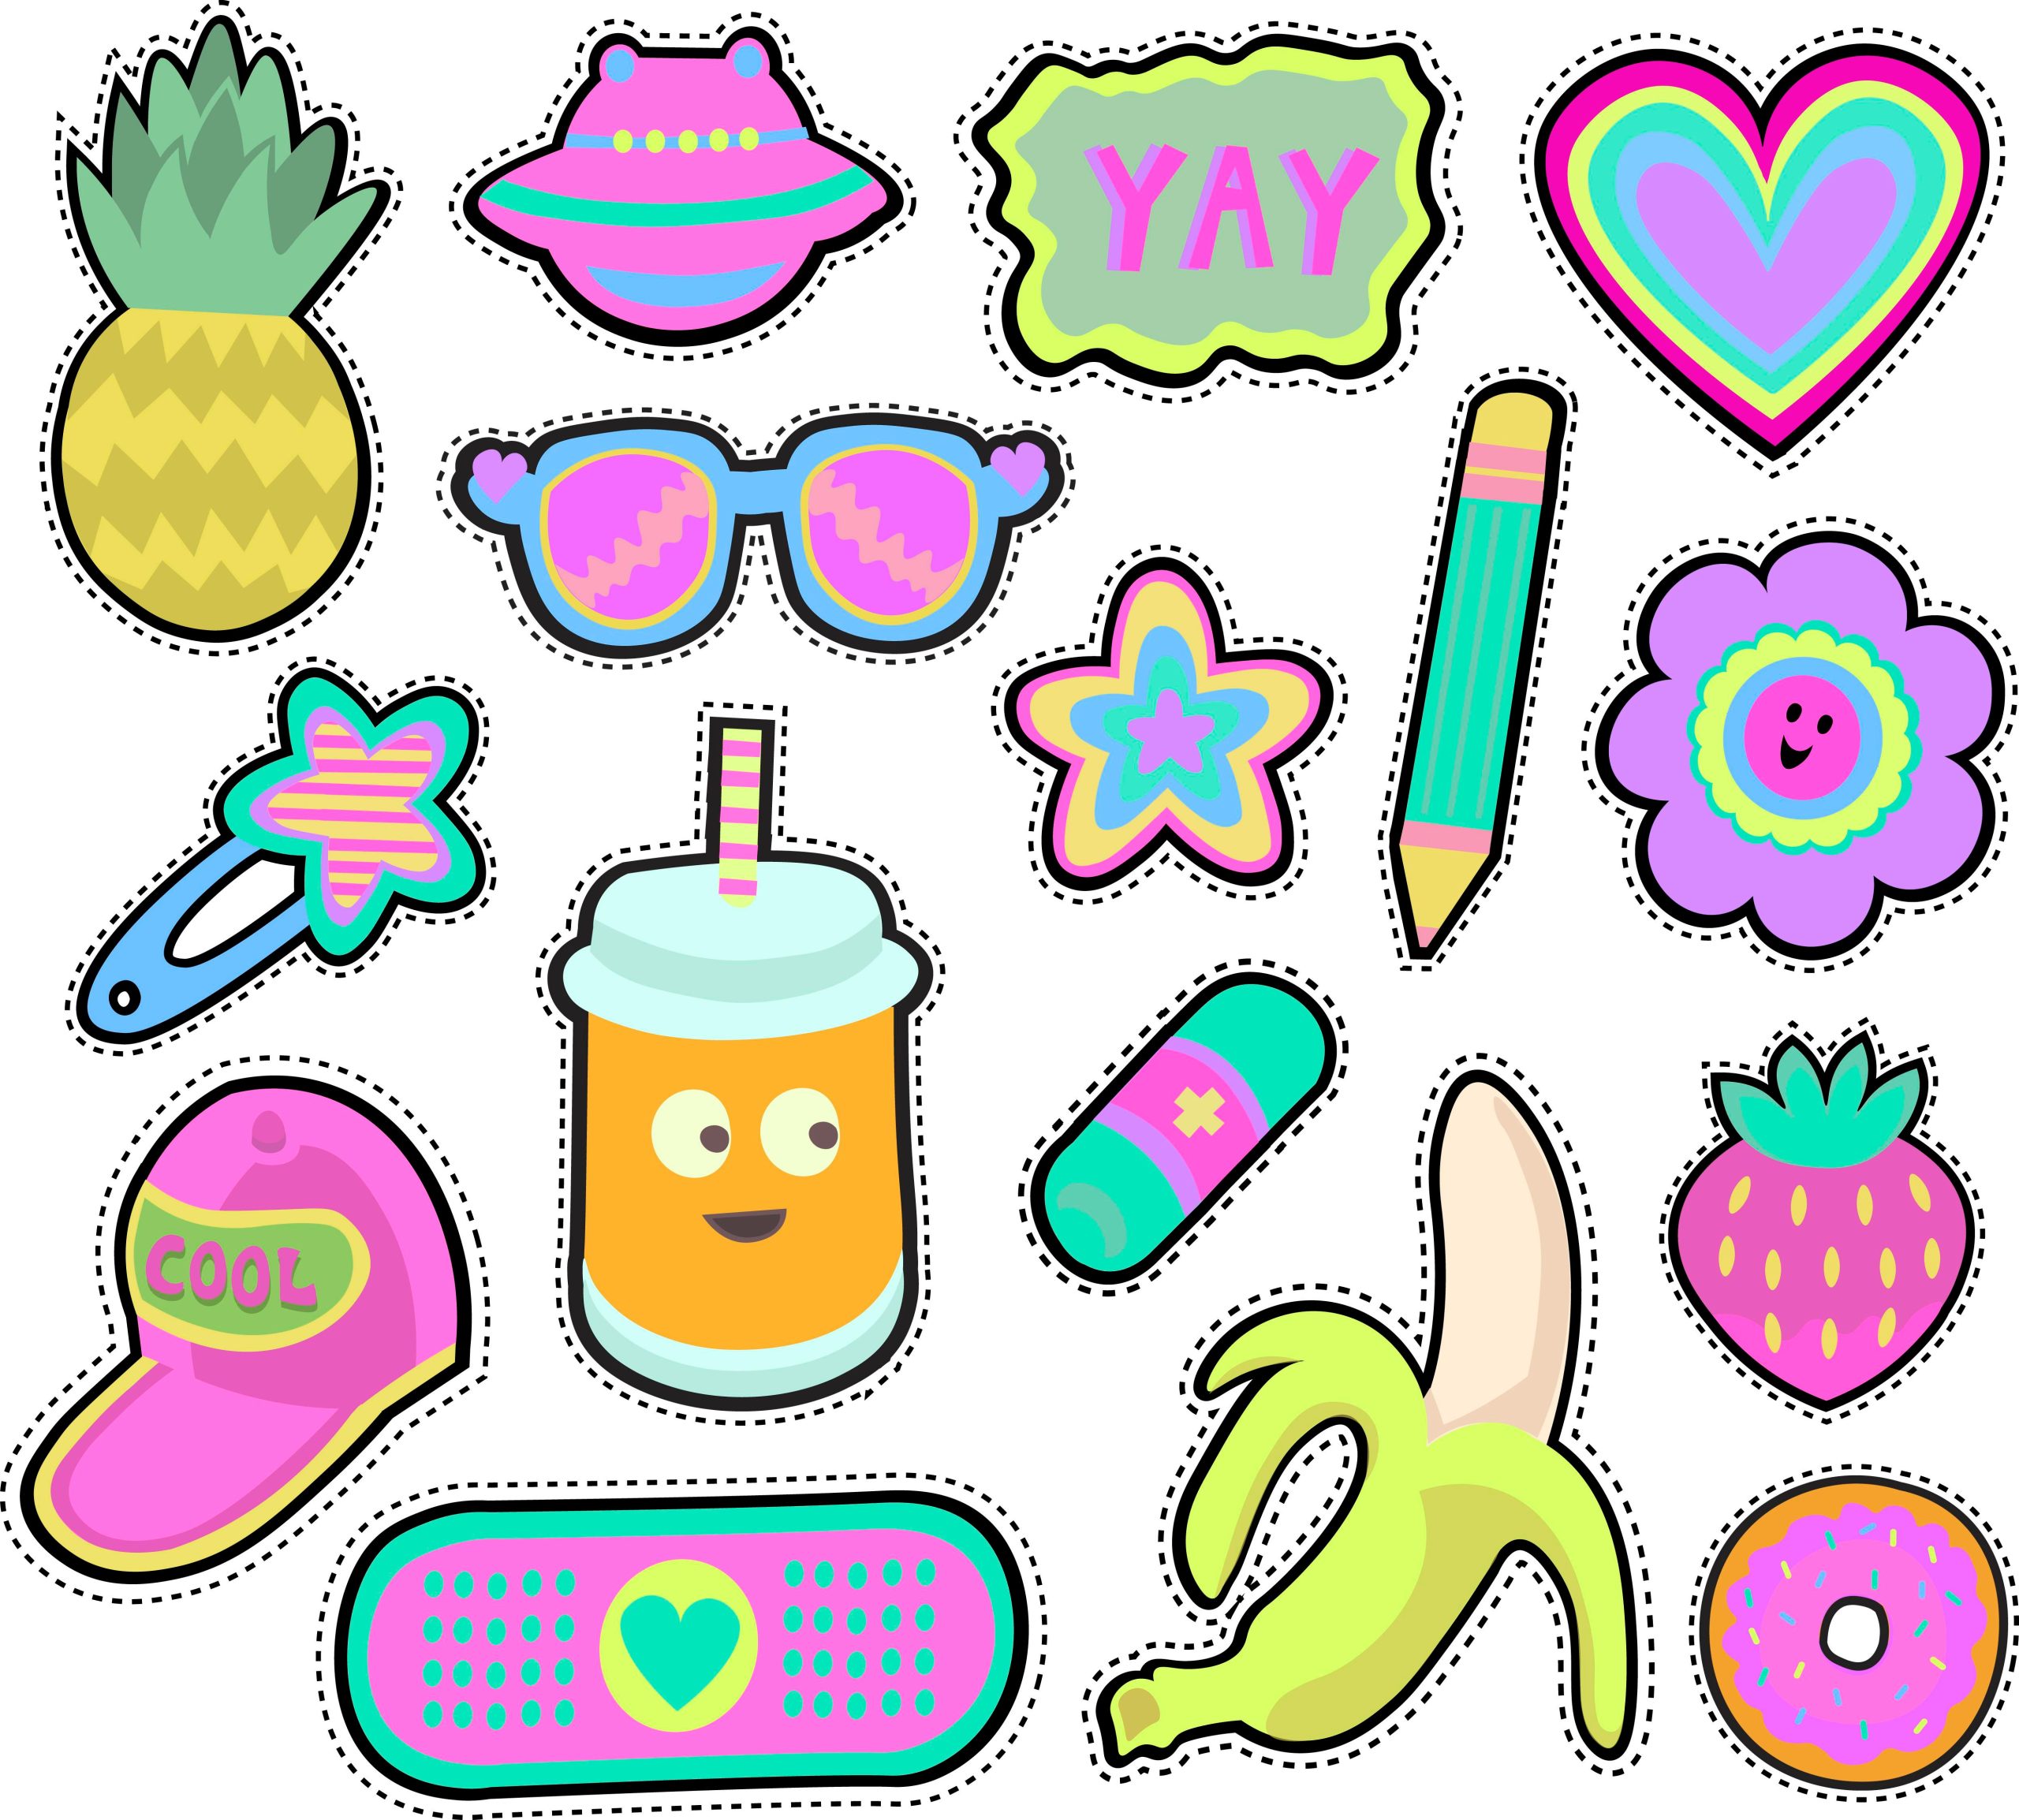
Begin by drawing your designs on the shrink-plastic sheets. Remember that your designs will shrink to about one-third of their original size, so make your drawings larger than the desired final product. Use permanent markers or colored pencils to color your designs. Be creative and experiment with different shapes, patterns, and colors to make unique pieces.

Cut Out Your Designs

Once you are satisfied with your decorated designs, carefully cut them out using scissors. Make sure to leave a small margin around each design to prevent the edges from becoming too sharp after baking. If you plan to turn your Shrinky Dinks into charms or keychains, use a hole punch to make a hole near the top of each piece before baking.

Preheat the Oven

Preheat your oven to the temperature specified on the shrink plastic packaging, typically around 325°F (165°C). While the oven is heating, line a baking sheet with parchment paper to prevent the plastic from sticking during the baking process.

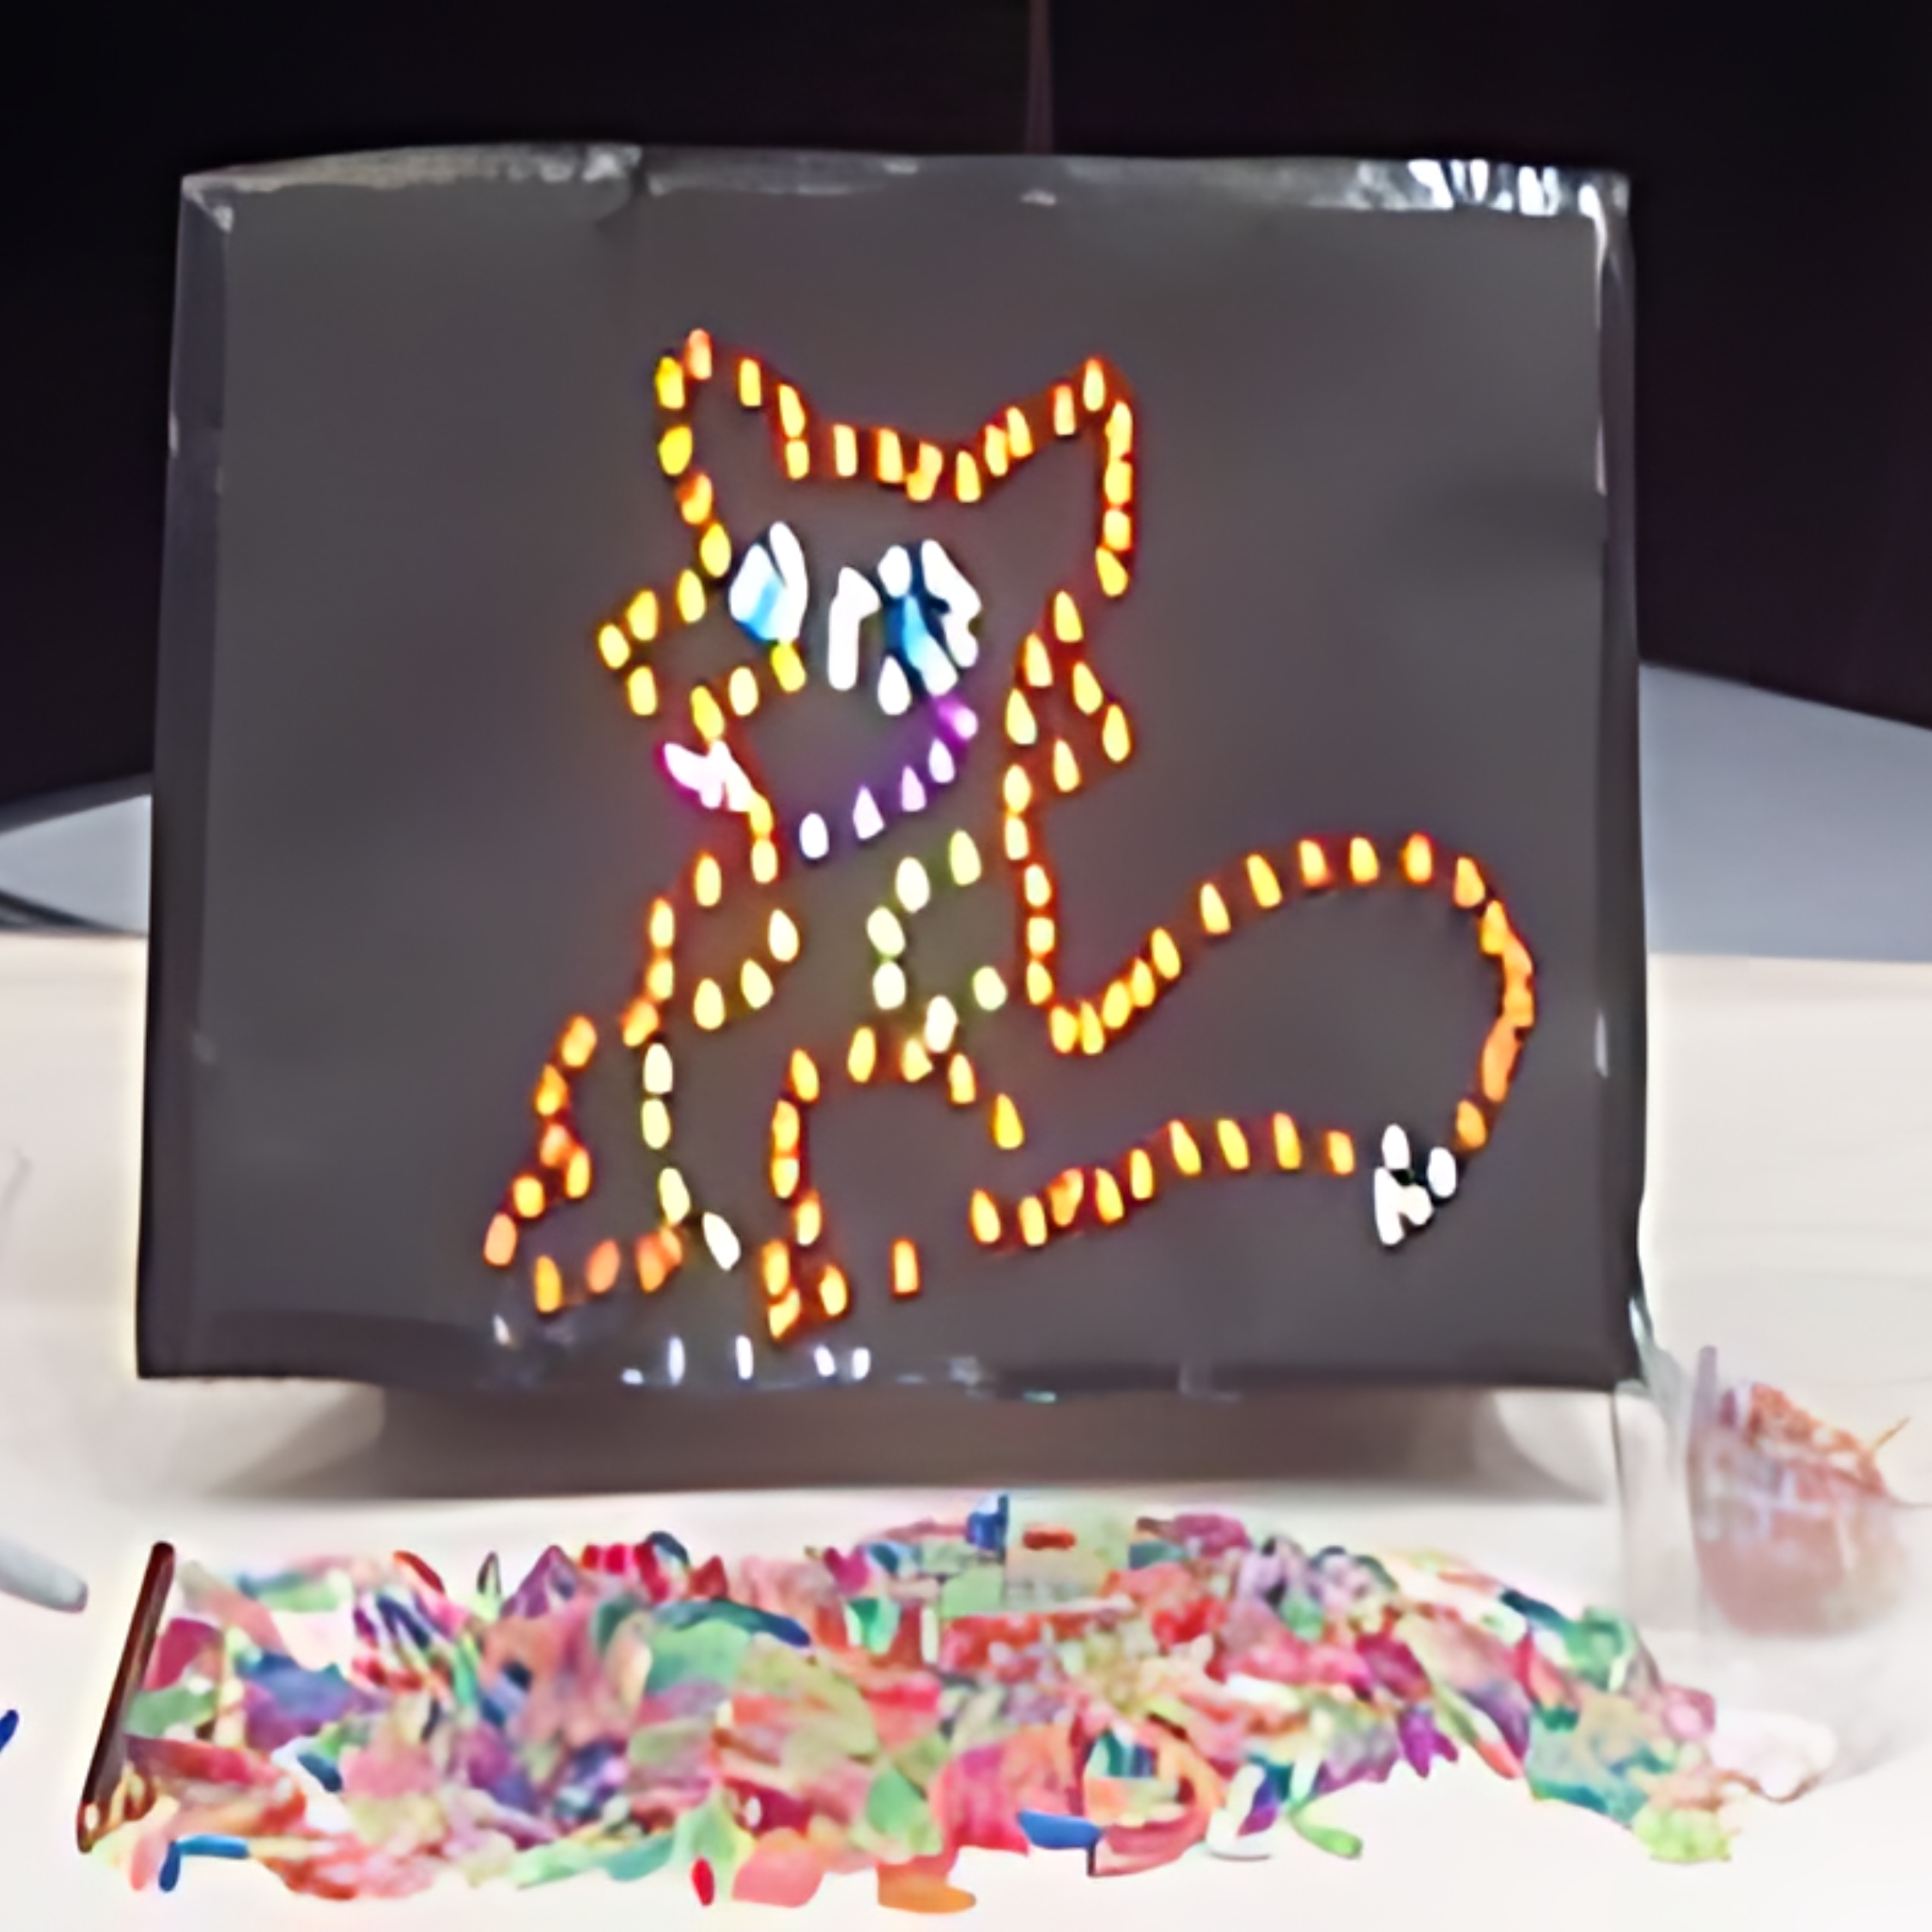
Bake the Shrinky Dinks

Set of different stickers from embroidery on clothes. Trends in modern fashion, dressing for young people. Top view, soft focus.

Place your cut-out designs on the prepared baking sheet, ensuring they are spaced apart to allow for even shrinking. Place the baking sheet in the preheated oven and watch the magic happen. The plastic will curl and then flatten out as it shrinks. This process usually takes about 1-3 minutes. Once the pieces have flattened out completely, remove them from the oven.

Let Them Cool

Allow your Shrinky Dinks to cool completely before handling them. They will harden as they cool, becoming durable and ready for use. If you made holes for charms or keychains, now is the time to attach jump rings, key rings, or other findings.

Creative Uses for Shrinky Dinks

Shrinky Dinks can be used in a variety of creative ways. Turn them into jewelry, keychains, ornaments, magnets, or decorative items. They make excellent personalized gifts and can be customized for any occasion. Get inspired by experimenting with different shapes, colors, and uses for your Shrinky Dinks.

Enjoy Learning How to Bake Shrinky Dinks

Creating Shrinky Dinks is a fun and rewarding DIY craft that can be enjoyed by people of all ages. Whether you’re revisiting a childhood favorite or discovering this craft for the first time, the process of designing, baking, and using Shrinky Dinks is sure to bring joy and satisfaction. Gather your materials and start crafting your own unique creations today.

Latrice Perez

Latrice is a dedicated professional with a rich background in social work, complemented by an Associate Degree in the field. Her journey has been uniquely shaped by the rewarding experience of being a stay-at-home mom to her two children, aged 13 and 5. This role has not only been a testament to her commitment to family but has also provided her with invaluable life lessons and insights.
As a mother, Latrice has embraced the opportunity to educate her children on essential life skills, with a special focus on financial literacy, the nuances of life, and the importance of inner peace.

Filed Under: Money and Finances Tagged With: Baking Shrinky Dinks, Craft Projects, DIY Crafts, Fun DIY Activities, How to Bake Shrinky Dinks, Kids Crafts, Shrinky Dinks

These 10 Crazy Cool Toys in the 70’s

June 12, 2024 | Leave a Comment

Canva

In the 1970s, the toy industry witnessed a revolution, introducing a plethora of innovative and imaginative toys that captured the hearts and minds of children worldwide. This decade, characterized by its vibrant creativity and cultural shifts, gave rise to an array of iconic playthings that not only entertained but also shaped the childhoods of countless individuals. From groundbreaking electronic games to beloved action figures, these toys became cultural phenomena, leaving an indelible mark on an entire generation. As we take a nostalgic trip down memory lane, we’ll explore ten iconic toys from that era, each one evoking fond memories and a sense of wonder that still resonates today. Whether you were a child of the ’70s or simply an admirer of vintage treasures, these timeless toys offer a glimpse into a bygone era of endless imagination and joy.

1. Stretch Armstrong

Wikimedia Commons

Stretch Armstrong was the epitome of cool in the 70s. This gel-filled action figure could be stretched, pulled, and twisted in all sorts of ways, providing endless entertainment. With his muscular physique and stretchy limbs, he became a favorite among kids who loved to see how far they could stretch him without breaking.

2. Pet Rock

Wikimedia Commons

The Pet Rock craze swept the nation in the mid-70s, proving that sometimes the simplest ideas are the most successful. Each Pet Rock came in a cardboard box complete with breathing holes and a tongue-in-cheek instruction manual. Despite its simplicity, the Pet Rock became a cultural phenomenon, showcasing the power of clever marketing and whimsical novelty.

3. Lite-Brite

Wikimedia Commons

Lite-Brite illuminated countless childhoods in the 70s with its magical combination of art and technology. Children could create colorful designs by placing translucent pegs into a backlit board, resulting in mesmerizing light-up creations. It fostered creativity and imagination, allowing kids to express themselves in a unique and visually stunning way.

4. Evel Knievel Stunt Cycle

Wikimedia Commons

The Evel Knievel Stunt Cycle allowed kids to recreate the daredevil feats of the legendary motorcycle stuntman. With a wind-up launcher, kids could send Evel Knievel soaring through the air, performing death-defying jumps and stunts. It captured the excitement and thrill of Evel Knievel’s real-life performances, inspiring a generation of aspiring stunt performers.

5. Simon

Wikimedia Commons

Simon was the brainchild of Ralph Baer and Howard J. Morrison, offering a futuristic twist on the classic memory game. With its four colored buttons and electronic sounds, Simon challenged players to repeat increasingly complex sequences of lights and sounds. It was not only a test of memory but also of concentration and reflexes, providing hours of addictive gameplay.

6. Shrinky Dinks

Wikimedia Commons

Shrinky Dinks allowed children to unleash their creativity by shrinking plastic sheets into miniature works of art. Kids could color pre-printed designs or create their own masterpieces before watching them shrink in the oven. The magic of seeing their creations shrink and harden into durable plastic charms or ornaments was truly captivating.

7. Big Wheel

Wikimedia Commons

The Big Wheel was the ultimate ride-on toy for kids in the 70s, offering a low-riding, trike-style design that provided both speed and stability. With its oversized front wheel and adjustable seat, kids could race around the neighborhood with ease, feeling like kings and queens of the sidewalk. Its iconic design and durability made it a staple of childhood play for generations.

8. Rubik’s Cube

Canva

Rubik’s Cube took the world by storm in the late 70s, challenging puzzle enthusiasts with its deceptively simple yet fiendishly difficult design. The goal of aligning each side of the cube with a single color seemed straightforward enough, but the combination of twists and turns required to solve it proved to be a formidable mental challenge. Despite its difficulty, millions of people became obsessed with solving the Rubik’s Cube, turning it into a cultural icon.

9. Weebles

Canva

Weebles wobbled but they didn’t fall down, captivating children with their quirky and resilient design. Shaped like eggs with weighted bottoms, Weebles could wobble and rock without ever tipping over, providing endless amusement. With their cheerful faces and bright colors, Weebles became beloved playmates for kids across the globe.

10. Hot Wheels

Canva

Hot Wheels revolutionized the toy car industry in the 70s with its sleek designs and innovative features. These die-cast metal cars offered unparalleled speed and performance, racing down tracks and performing gravity-defying stunts. With a vast array of models to collect and customize, Hot Wheels fueled the imaginations of children and sparked a lifelong passion for cars and racing.

Toys of the 70’s

Canva

The toys of the 70s were more than just playthings—they were gateways to adventure, creativity, and endless hours of fun. Whether it was stretching Stretch Armstrong, solving Rubik’s Cube, or racing Hot Wheels, these toys left an indelible mark on the memories of those who grew up with them. As we look back on these iconic toys, let’s celebrate the joy and wonder they brought into our lives.

Click on the links to explore modern twists on these classic toys and relive the magic of the 70s!

Ashleigh Clyde
Ashleigh Clyde

Ashleigh Clyde is a dedicated youth advocate, journalist, and researcher. Passionate about shedding light on important issues, such as financial literacy and marketing tactics. She has extensive experience in entertainment journalism.

Filed Under: Shopping Tagged With: 70's, Amazon, Hot Wheels, Shrinky Dinks, Simon, Stretch Armstrong, Toys

  • Facebook
  • Pinterest
  • RSS
  • Twitter

Basic Principles Of Good Parenting

Here some basic principles for good parenting:

  1. What You Do Matters: Your kids are watching you. So, be purposeful about what you want to accomplish.
  2. You Can’t be Too Loving: Don’t replace love with material possessions, lowered expectations or leniency.
  3. Be Involved Your Kids Life: Arrange your priorities to focus on what your kid’s needs. Be there mentally and physically.
  4. Adapt Your Parenting: Children grow quickly, so keep pace with your child’s development.
  5. Establish and Set Rules: The rules you set for children will establish the rules they set for themselves later.  Avoid harsh discipline and be consistent.
  6. Explain Your Decisions: What is obvious to you may not be evident to your child. They don’t have the experience you do.
  7. Be Respectful To Your Child: How you treat your child is how they will treat others.  Be polite, respectful and make an effort to pay attention.
Best Parenting Blogs

Copyright © 2025 Runway Pro Theme by Viva la Violette